
How to Take a Good Senior Photo


Philips Norelco 2400 Series Electric Shaver

Apple AirTag (2nd Generation) - 4 Pack

Grab Bars for Shower, 2 Pack 16 in Anti Slip Safety Bath Handle
Senior photos are more than just pictures—they’re a celebration of life, growth, and achievement. Whether you’re a high school senior or marking another year of wisdom and experience, knowing how to take a good senior photo can make all the difference. This guide walks you through everything from choosing the perfect location to styling your wardrobe and working with a photographer. With the right preparation and mindset, you’ll walk away with images that feel authentic, confident, and truly reflect who you are at this stage of life.
Taking senior photos isn’t just about capturing a moment—it’s about celebrating who you are right now. Whether you’re wrapping up high school, entering retirement, or simply embracing another year of life, these portraits become treasured keepsakes. But let’s be honest: standing in front of a camera can feel awkward, especially if you’ve never done it before. That’s why knowing how to take a good senior photo goes beyond technical skills. It’s about building confidence, choosing the right environment, and creating images that feel authentic and meaningful.
The beauty of senior photography lies in its flexibility. You don’t need fancy studios or expensive props—just intentionality and a little planning. From selecting flattering outfits to understanding how light affects your appearance, every detail matters. And while hiring a pro is ideal, many people take their own photos using smartphones or point-and-shoot cameras. The key is preparation: scout locations ahead of time, practice simple poses, and choose moments when the lighting feels most natural. In this guide, we’ll walk through step-by-step strategies to help you (or your loved one) create senior photos that last a lifetime.
Key Takeaways
- Choose meaningful locations: Pick places that reflect your personality or hold special significance—whether it’s your backyard, a favorite park, or even a senior living community.
- Dress intentionally: Wear colors and outfits that complement your skin tone and make you feel confident; avoid busy patterns if you’re new to posing.
- Work with natural light: Early morning or late afternoon “golden hour” provides soft, flattering lighting that enhances skin tones and adds warmth.
- Practice poses beforehand: Simple gestures like hands in pockets, leaning against walls, or smiling naturally help you relax during the shoot.
- Hire a professional when possible: A skilled photographer understands how to direct seniors, manage time, and deliver polished results.
- Edit thoughtfully: Light retouching preserves your natural look while removing distractions like blemishes or stray hairs.
- Print and display your favorites: Turn your best shots into framed art, calendars, or gifts for family to honor this milestone.
📑 Table of Contents
Understanding the Purpose of Senior Photos
Before diving into gear or settings, it helps to clarify why you’re taking these photos. For recent graduates, senior portraits often serve as college application materials, scholarship submissions, or graduation announcements. But for older adults—say, those transitioning into retirement or moving to assisted living—these images capture a chapter closing and another beginning. They document milestones, relationships, and personal style in a way that words alone can’t express.
When thinking about how to take a good senior photo, remember: quality over quantity wins every time. A single well-composed shot taken in a meaningful spot will always outperform ten rushed snapshots in a bland studio. Consider what story you want each image to tell. Are you highlighting a hobby? Showcasing family bonds? Celebrating independence? Once you define your “why,” everything else—from wardrobe choices to background selection—falls into place more easily.
Choosing the Right Location
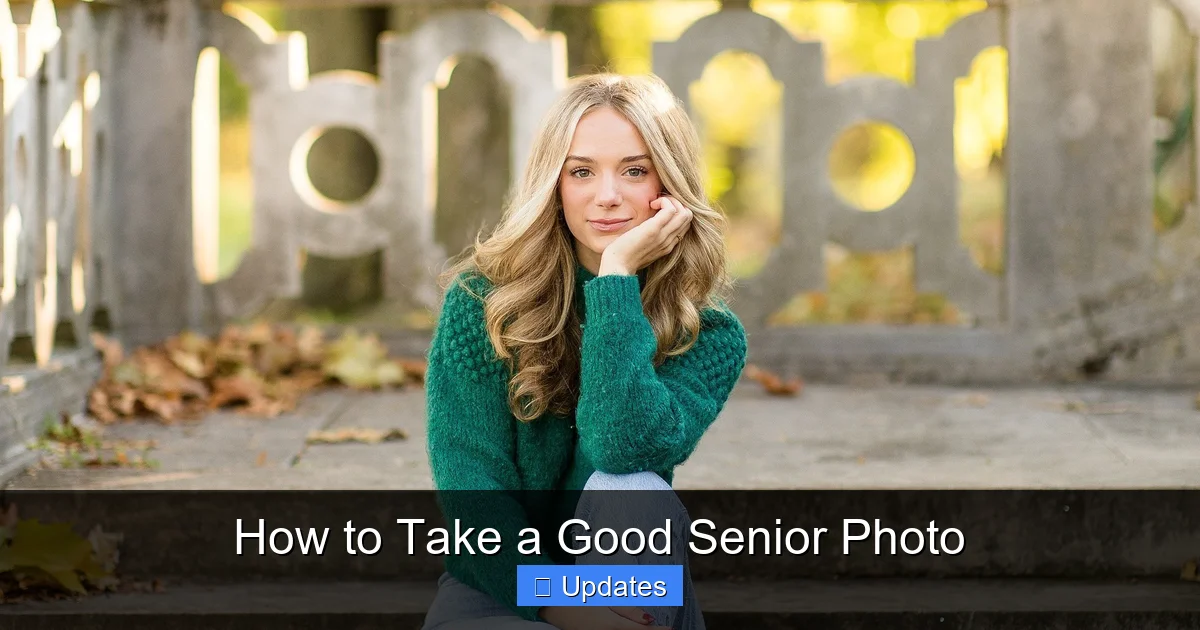
Visual guide about How to Take a Good Senior Photo
Image source: i.pinimg.com
Location sets the mood for your entire session. A bustling city street might suit someone energetic and urban, while a quiet garden could reflect peace and reflection. If you’re unsure where to start, think about places that bring joy or hold sentimental value. Many people love photographing seniors at home, in their favorite chair by the window, surrounded by family heirlooms or beloved pets. Others prefer outdoor spots like botanical gardens, historic landmarks, or even local parks with seasonal blooms.
If you’re searching for inspiration, check out articles like Good Places To Take Senior Pictures or Cool Places To Take Senior Pictures. These resources offer creative ideas tailored specifically for seniors, including options near you and budget-friendly alternatives. Remember, natural backdrops usually work better than cluttered ones—clean lines and open space keep the focus on you.
Indoor vs. Outdoor Settings
Indoor photos offer control over lighting and background but may lack variety. Windows provide excellent diffused light if you position yourself close enough to catch it. Avoid sitting directly facing the window unless you have sheer curtains to soften glare. On the other hand, outdoor settings give dynamic backdrops but require checking weather forecasts and dealing with unexpected elements like wind or passing cars.
For mixed sessions, consider alternating between both environments. Start indoors for formal shots then move outside for candid moments. This approach ensures you get diverse looks without rushing through multiple locations in one day.
Seasonal Considerations
Fall brings rich earth tones and cozy textures—perfect for layered outfits and warm smiles. Spring offers blooming flowers and fresh greens that add vibrancy without overwhelming. Summer allows for casual beachwear or shaded park benches, though midday sun can create harsh shadows. Winter provides snowy landscapes for dramatic contrast, but be mindful of cold temperatures affecting comfort and stamina.
No matter the season, layering clothing gives flexibility—you can remove outerwear between shots without changing your core outfit. Always pack extra socks, water, and snacks, especially if spending long periods outdoors.
Mastering Lighting Techniques
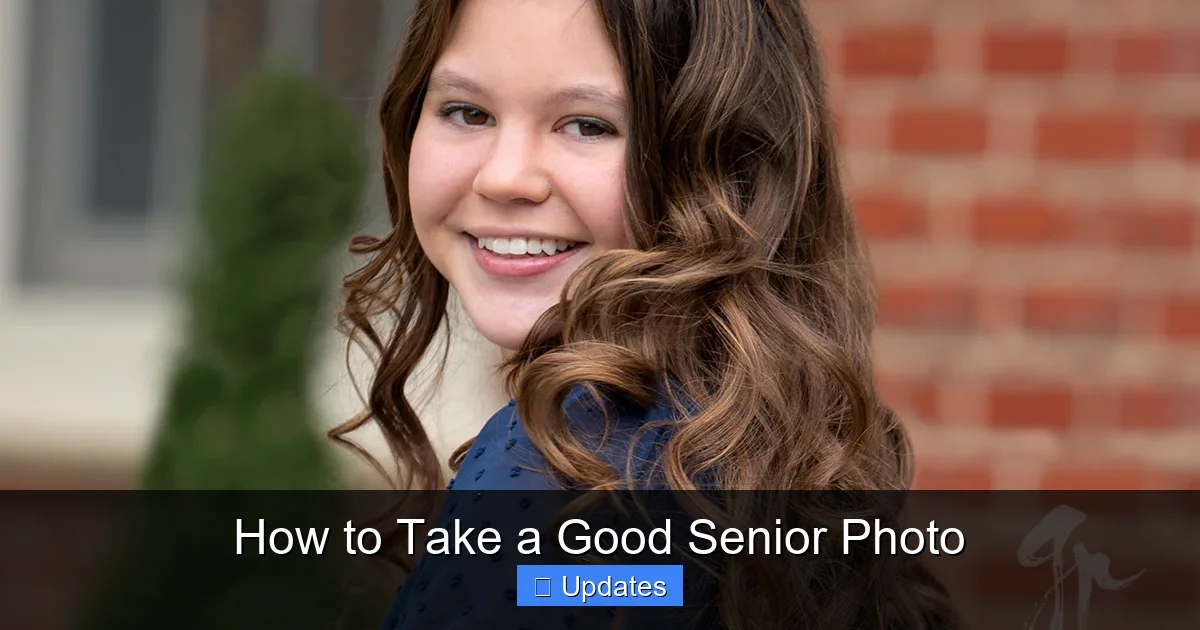
Visual guide about How to Take a Good Senior Photo
Image source: goodhartphotographyva.com
Lighting makes or breaks a photo. Harsh midday sunlight creates unflattering shadows under eyes and noses, while golden hour—the hour after sunrise or before sunset—offers soft, warm illumination that smooths skin texture and adds dimension. If shooting indoors, position yourself so windows act as your main light source. Use reflectors (like white foam boards) to bounce light onto shadowed areas.
Smartphone users can mimic professional setups using household items: a sheet held behind the subject diffuses LED lamp light beautifully. Avoid flash unless absolutely necessary—it often flattens features and washes out color.
Golden Hour Magic
Schedule sessions during golden hour whenever possible. Not only does it enhance skin tones, but the directional light also creates gentle highlights around hair and shoulders, adding depth without looking artificial. Arrive early to scout angles and adjust positioning as clouds shift throughout the day.
Overcast Days Are Your Friend
Cloudy skies act as natural diffusers, eliminating harsh contrasts and giving an even wash of light across the face. This is especially helpful for people with sensitive skin or those prone to redness. Just ensure there’s still enough ambient light—avoid deep overcast days when visibility drops significantly.
Styling and Wardrobe Tips

Visual guide about How to Take a Good Senior Photo
Image source: parade.com
What you wear communicates volumes about your personality. Stick to solid colors that complement your skin undertone—cool tones (blues, purples) suit olive or fair complexions; warm tones (greens, oranges) flatter deeper or ruddy hues. Avoid overly bright whites unless wearing navy or black accessories, which prevent the face from blending into the background.
Layering adds visual interest without complicating the silhouette. Pair a fitted top with textured cardigans or statement jewelry. For men, crisp button-down shirts in muted shades work wonders—khaki, charcoal, or forest green stand out against most backdrops. Always prioritize comfort; stiff fabrics or ill-fitting shoes ruin the experience faster than any lighting issue.
Check out What To Wear For A Senior Portrait for detailed outfit guides tailored to different body types and occasions.
Accessories That Elevate
Subtle accessories tell stories: a vintage brooch, reading glasses perched on the nose, or a favorite scarf draped casually. Just remember—less is more. One meaningful piece beats five distracting ones every time. Sunglasses are fun for playful shots but avoid them during serious expressions unless part of the character concept.
Hair and Makeup Basics
Natural makeup enhances rather than hides. Light foundation evens tone without masking freckles or laugh lines—those wrinkles tell your story! Define eyebrows slightly darker than usual to frame the face. For hair, opt for styles that pull back neatly or allow soft waves to fall around the jawline. Avoid updos that stretch facial muscles unnaturally.
If you’re nervous about makeup, practice a trial run the day before. Keep products travel-sized so touch-ups stay minimal during the shoot itself.
Posing and Expression Guidance
Many seniors worry they’ll look stiff or unnatural in photos. The truth? Most professionals know how to put people at ease. Practice basic poses at home: hands relaxed at sides, one hand resting on hip, leaning gently against a wall, or gazing off-camera with a thoughtful smile. Record yourself briefly to spot awkward angles or forced smiles—then refine.
Remember, candid moments often yield the most authentic expressions. Instead of “say cheese!” try suggesting actions: “Look like you’re laughing at something funny,” or “Imagine you’re telling a secret.” Laughter feels genuine because it’s spontaneous.
Candid vs. Posed Shots
Mix both approaches within your session. Posed shots provide structure and clarity, while candid ones reveal true personality. Capture reactions between takes too—your reaction to a joke, surprise at a sudden gust of wind, or quiet moment with a pet all count as valuable content.
Working with a Photographer
Even if you hire someone experienced, communicate your vision upfront. Share reference images, describe preferred backgrounds, and discuss any medical conditions affecting mobility (like arthritis). Professionals understand pacing—they won’t rush you through uncomfortable positions. Ask about turnaround times and editing preferences too. Most reputable photographers offer digital proofs within a week, allowing you to select favorites confidently.
If cost is a concern, consider group discounts or package deals covering multiple subjects (e.g., couples, siblings, or families). Some studios specialize exclusively in senior portraits and understand generational nuances others miss.
Post-Processing Best Practices
Editing should enhance, not transform. Remove dust spots, tame stray hairs, and lightly soften minor blemishes—but preserve your unique features. Over-retouching erases authenticity, which defeats the purpose of senior photos. Focus on consistency: match exposure levels across similar shots and maintain uniform color grading throughout your gallery.
Most smartphone apps (like Snapseed or Lightroom Mobile) handle basics well. For advanced adjustments, learn basic sliders: exposure, contrast, highlights/shadows balance. Never use heavy filters unless intentionally going for artistic effect—and always preview changes in real-time.
Printing and Display Ideas
Once you’ve chosen your top images, decide how to share them. Framed prints make excellent gifts for grandchildren or milestone cards for graduations. Canvas wraps add modern flair to living rooms, while photo books compile entire journeys into tactile keepsakes. Digital copies ensure easy sharing via email or social media if desired.
Don’t forget to print a few extras—sometimes the best shots emerge during cleanup phases after the main session ends!
Common Mistakes to Avoid
Rushing the planning phase leads to mismatched outfits or poor lighting decisions. Always test locations beforehand if possible. Another frequent error is ignoring footwear—comfortable shoes prevent fumbling mid-shot. Also, resist the urge to overcrowd frames with props or furniture. Minimalism draws attention to your expression and posture instead.
Lastly, don’t compare yourself to influencers or magazine covers. Your version of “good” looks exactly like you—confident, comfortable, and proud of where you are today.
Frequently Asked Questions
What age qualifies someone for senior photos?
There’s no strict rule, but most people take senior photos between ages 17–75+. High school seniors typically do theirs in spring of their final year, while older adults often schedule sessions to mark transitions like retirement or moving to assisted living communities. The key factor is whether the person wants to commemorate a milestone—not their exact age.
How much do professional senior portraits cost?
Prices vary widely based on location, photographer experience, and included services. Expect $100–$400+ for basic packages (1–2 hours, 10–20 edited images). Some studios charge hourly rates starting around $75/hour. Always request itemized quotes and confirm what’s covered—print rights, digital files, and session duration all affect final costs.
Can I take my own senior photos at home?
Absolutely! With natural light, patience, and simple props, home sessions can yield stunning results. Position yourself near windows, use household items as reflectors, and enlist a friend to operate the camera. Review each shot immediately to adjust angles or lighting as needed. Just remember: consistency in background and outfit matters more than perfection.
How many photos should I expect in a typical session?
A standard one-hour session usually yields 50–100+ raw images, depending on movement speed and number of looks. Professionals typically edit 15–30 final shots per client. Choose galleries wisely—too many options overwhelm decision-making, while too few limit creative freedom.
Should I smile big or keep it natural?
It depends on your personality! Big grins work well for energetic individuals, while subtle smiles suit more reserved personalities. Practice both during rehearsal shots and ask the photographer which feels truest to you. Authenticity trumps forced cheer every time.
How soon after the shoot can I see edited proofs?
Most photographers deliver digital proofs within 3–7 business days. Rush jobs may cost extra but guarantee faster turnaround. Print-ready files usually arrive 1–2 weeks later. Always confirm timelines upfront when booking.